
Challenge #7 - Letterpress Card

FOR DAY 7 OF THE HONEYBEARZ DESIGN CHRISTMAS BLOG HOP....PLEASE SCROLL DOWN TO NEXT POST. THANK YOU
------------------------------------------------------------------------------------------------------------
Hi friends!  Sandy here for ScrapBook Blessings Club to share with you Challenge #7. We will be doing a Letterpress card, but first lets see who our winner for the Twisted Card Challenge is and the design teams top 3 picks!!!
The prize for this challenge comes from:
7 Kids College Fund with a certificate of $20.00


Winner #3

Olivia


DT Top # Pick
Karon #1                        Nana  #5                              Susan -Facebook entry
               

Congrats Ladies! Don't forget to get your badges, found on the winners page
 at the top of the blog.
------------------------------------------------------------------------------------------------------
Challenge #7 Letterpress Card
Sponsored by

A Day For Daisies offers fine art stamps aimed to inspire creativity and  enhance your crafty genius! We offer two types of stamps: Genuine high quality Digital Stamp illustrations, and an ever growing new line of 100% Clear Polymer Stamp collections.

ADFD is giving away at $12 gift certificate to their store to the winner of this new challenge
---------------------------------------------------------------------------------------------------------

Ok are you ready for our next fun challenge? Your going to love this tutorial done by Gina K.
 Gina will be showing us how to make 2 fast and beautiful techniques by using an embossing folder. So take a look at this video and then share with us your amazing cards.

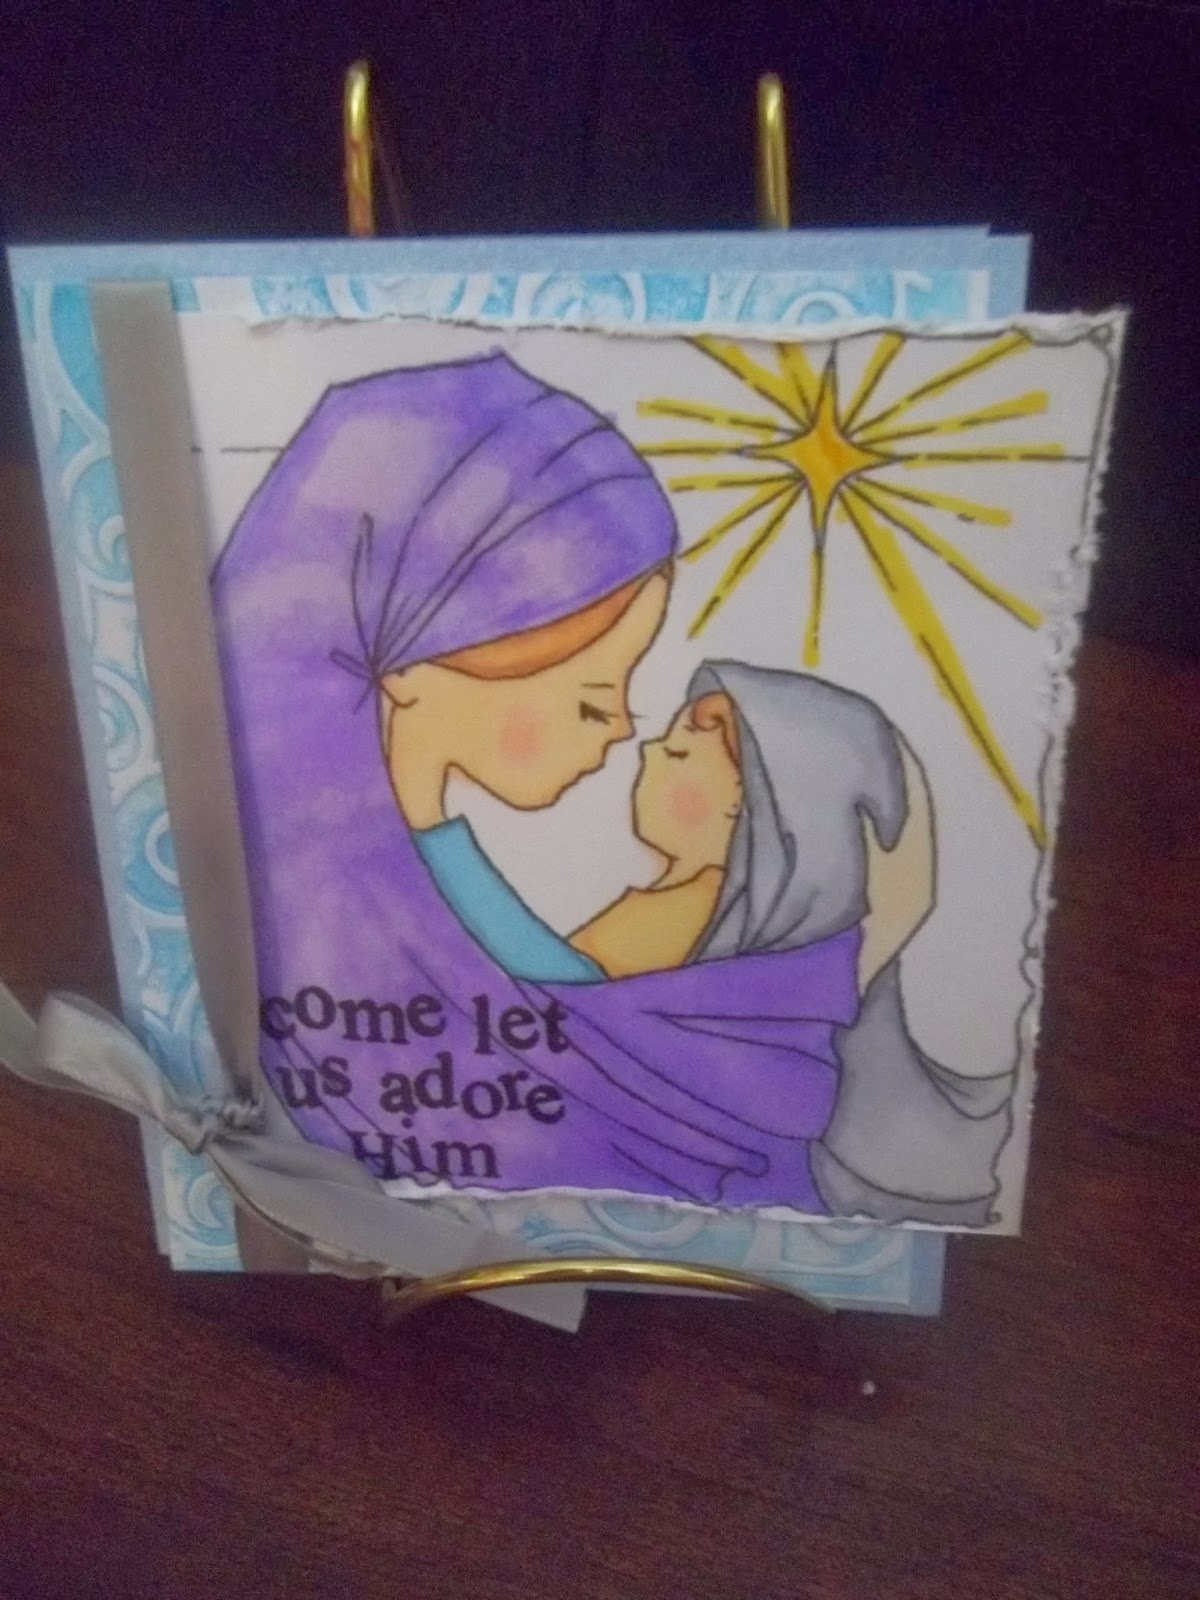
Here are the Letterpress DT inspiration cards featuring A Day For Daisies digi stamps...


Carolyn
 
TIP:  When putting your supplies away after using them, remember where you put them.  My Stamp-m-jig for stamping a straight sentiment would be a handy piece of equipment to use in stamping the image so it would be straight. 

Lynne aka Her Craftiness
Tip: I purchased a nail brush at the dollar store which is phenomenal to wash my stamps and embossing folders as it get the ink out of the tiny crevices with no mess!

Jennyfer - Jennyfer Creates
Tip: You can wash your embossing folder with soap and water if the ink is reluctant to come out!
 It won't damage anything.

    Marilyn - Marilyn's Crafts


    Tip:  When embossing with text, only one side can be inked with this technique. 
    The other side will display the text as reversed.


    Cindy-  In Love with Paper
    TiP:  Ink the edges of your patterned paper layer, too!

    Sandy- A Working Mom's Joy
    TIP: Less is More!  Let your digi and technique do the talkin' for your card, 
    sometimes extra embellishments are just not needed!


    TIP: Put all your Christmas card making supplies in a basket to keep close at hand during the season of making cards.

    Cristina - VintagePink39

    Tip: Using a baby wipe or makeup remover wipe works really well for cleaning your folders.


I hope your enjoyed today's project. If you have a question, please leave it in the comments, and a DT member will get back to you.  Also, you can join up to our Facebook group: Scrapbook Blessings Club for more fun, games, inspiration, tips and techniques.
And as always, comments are appreciated. Thank you for stopping by and Have a blessed day!
~ SANDY
 SBC Team Designer

Comments

  1. Fabulous DT inspiration! Loved watching the video. That's one technique that I have done in the past and just love! Will try to play this time.

    ReplyDelete
  2. I have to agree with with Vicky. I love this technique I have never tried it before but wow! Now all my cards will be letterpressed :)

    ReplyDelete
  3. Beautiful cards, gals!!! I love your tips too. Carolyn, your tip made me chuckle as I can relate. Sometimes I spend more time searching for things than I do crafting. lol I'm looking forward to trying this technique.

    ReplyDelete
  4. Thank you so much! Super excited to have won. Looking forward to trying a new thing.

    ReplyDelete

Post a Comment

We love comments! Please let us know what you think.

Popular posts from this blog

My Favorite Craft Tools and Giveaway!!!

Hi everyone, Today's video is a fun one for me. Since getting back into crafting I have noticed that I am pulling certain items over and over again and thought it would be fun to share with you. Two years ago, I took a step back from crafty and downsized 75% of my craft room.  However with just these awesome tools, I have been able to get back into the swing of things and I don't miss having a larger craft room. Personally, I feel every crafter should have these starting out.  They make creating easy and fun! Tools mentioned: Misti, Neehna Bright Cardstock, Distress Oxides, Ranger Dylusions die cut, In Love Art Shop word die cuts, ATG, Prismacolor Pencils, premade cards,Fiskars cutting blade and trimmer, Zig color pens, Wink Of Stella, Alcohol markers, t-ruler, Westcott 0 ruler, 6x6 paper pads, Versamark, EK Success powder tool, 3d Crystal Lacquer, Tombow adhesive, Momento/Hero Arts black ink, Cricut, Chameleon Black Pen, Pencil, Grid stamping block, etc. For the mont

Building Block Graduation Card

Hello, everyone! Melissa here on to share a "building block" style card with you. I made this one graduation themed, since there are a ton of graduations going on right now. Hope you enjoy this card, and are inspired to try it out yourself. Here is the tutorial I followed from Split Coast Stampers. To make it easier, I will give you all the measurements, here. It looks harder than it is, I promise. Start with a piece of cardstock in your desired color that is 5.5 x 10.5. Put the 10.5 inch side along the top of your score board or paper trimmer, and score at 3.5 inches and 7 inches. Fold the first score line in a mountain fold, and the second in a valley fold. You should end up with a "z" fold card. The next part can get a bit tricky, so make sure you watch the video to fully understand what I am about to explain. On the back side of the "valley" fold, take a ruler and pencil and mark these measurements: 3/8 1 3/8 1 5/8 2 5/8 2 7/8 3 7/8

Independence Day Blog Tour

HAPPY 234th BIRTHDAY AMERICA!!!! To celebrate, I am participating in Operation Write Home BLOG TOUR.  Just click  HERE if you want to go on the tour with me! Of course the theme is... RED, WHITE and BLUE BIRTHDAY!   Here are my cards... If you would love to have these cute digi stamps, just head to OWH Stars and Stripes . They are all on here for free! I'll be doing a random drawing for some Birthday prizes. I haven't decided how many yet so all you have to do is leave a comment here.  If you are or become a follower, leave a second comment for another chance to win! For these cards, I used... Red/ white card stock and blue pp Silver Stickles Copics: red (R29),blue (B05), brown (E08)  For accent colors, I used my color pencils Scrappy Cat-  firework acrylic stamps and of course DIGI STAMPS!!! (my new found love, lol)