

Hello, Friends! Marilyn here with a tutorial to make some fun and inexpensive shoes to wear at that next pool party or maybe at the lake.
Here's what you'll needed:

Select images from Miss Kate's Cuttables. Color and size to your preference. Set all images to cut outside edge only, making everything a print and cut. Add your registration marks and send to printer (loaded with Square 1 Printable first)
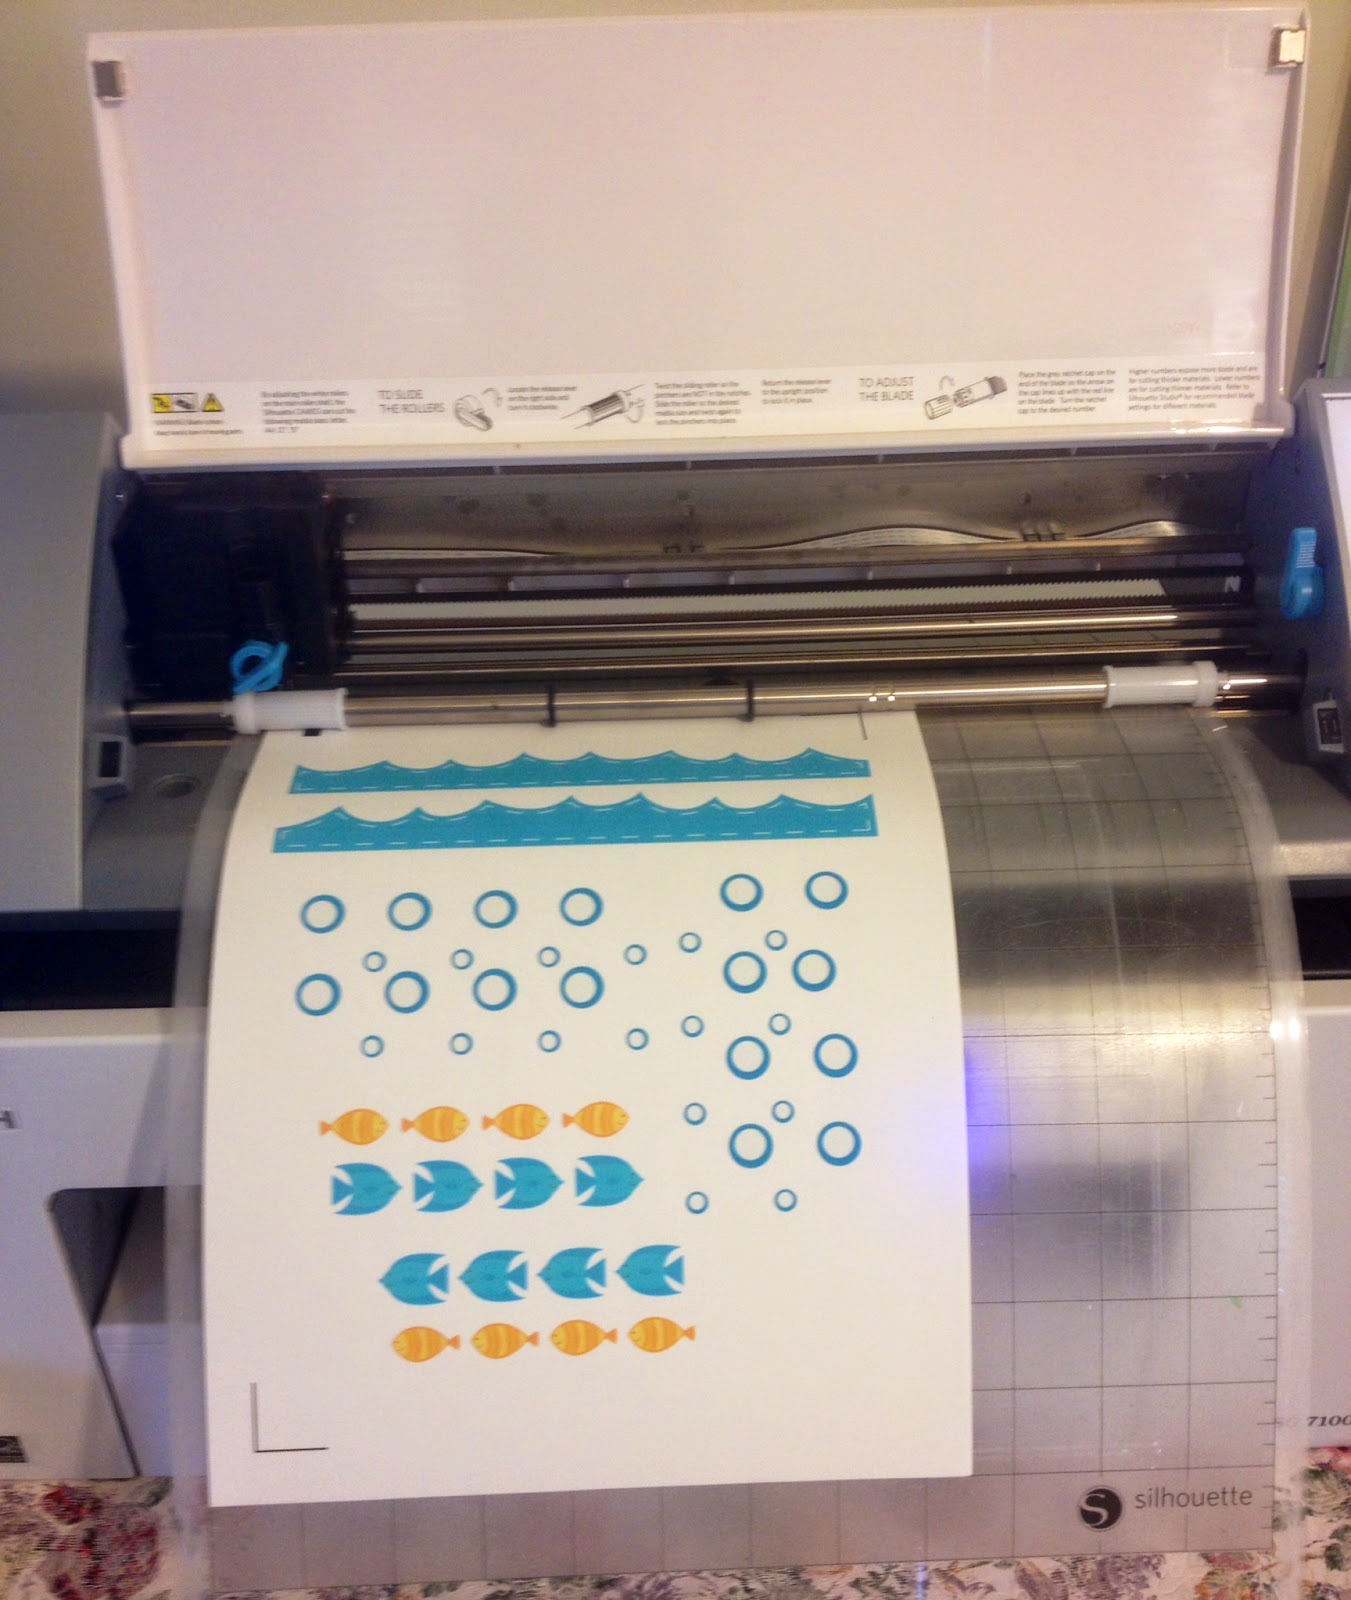
Load Silhouette Cameo with your printed Square 1 and cut.
Cut settings are here:

Determine where you want to place your images. Since the Square 1 is re-positionable, you can move around until you're happy with the placement. The Square 1 will behave like a sticker.

The waves will be longer than you need. I just used my thumbnail and made a crease, then hand cut at groove created.
Once you're happy with the placement, permanently attach images with fabric glue. You'll want to spray with Krylon Crystal Clear when done to give a nice protection to your shoes.

Hope you have a blessed day and thanks for stopping by, ~ Marilyn

 |
| DIY Pool Party Shoes |
Here's what you'll needed:
- Blank canvas slip-ons (mine are from Walmart and cost $5.87)
 |
| slip on canvas shoes purchased at Walmart |
- Silhouette Cameo
- Images from Miss Kate's Cuttables
- Square 1 Printable (approx. $1 per sheet) - link available on right hand side of screen.
- Ink Jet Printer
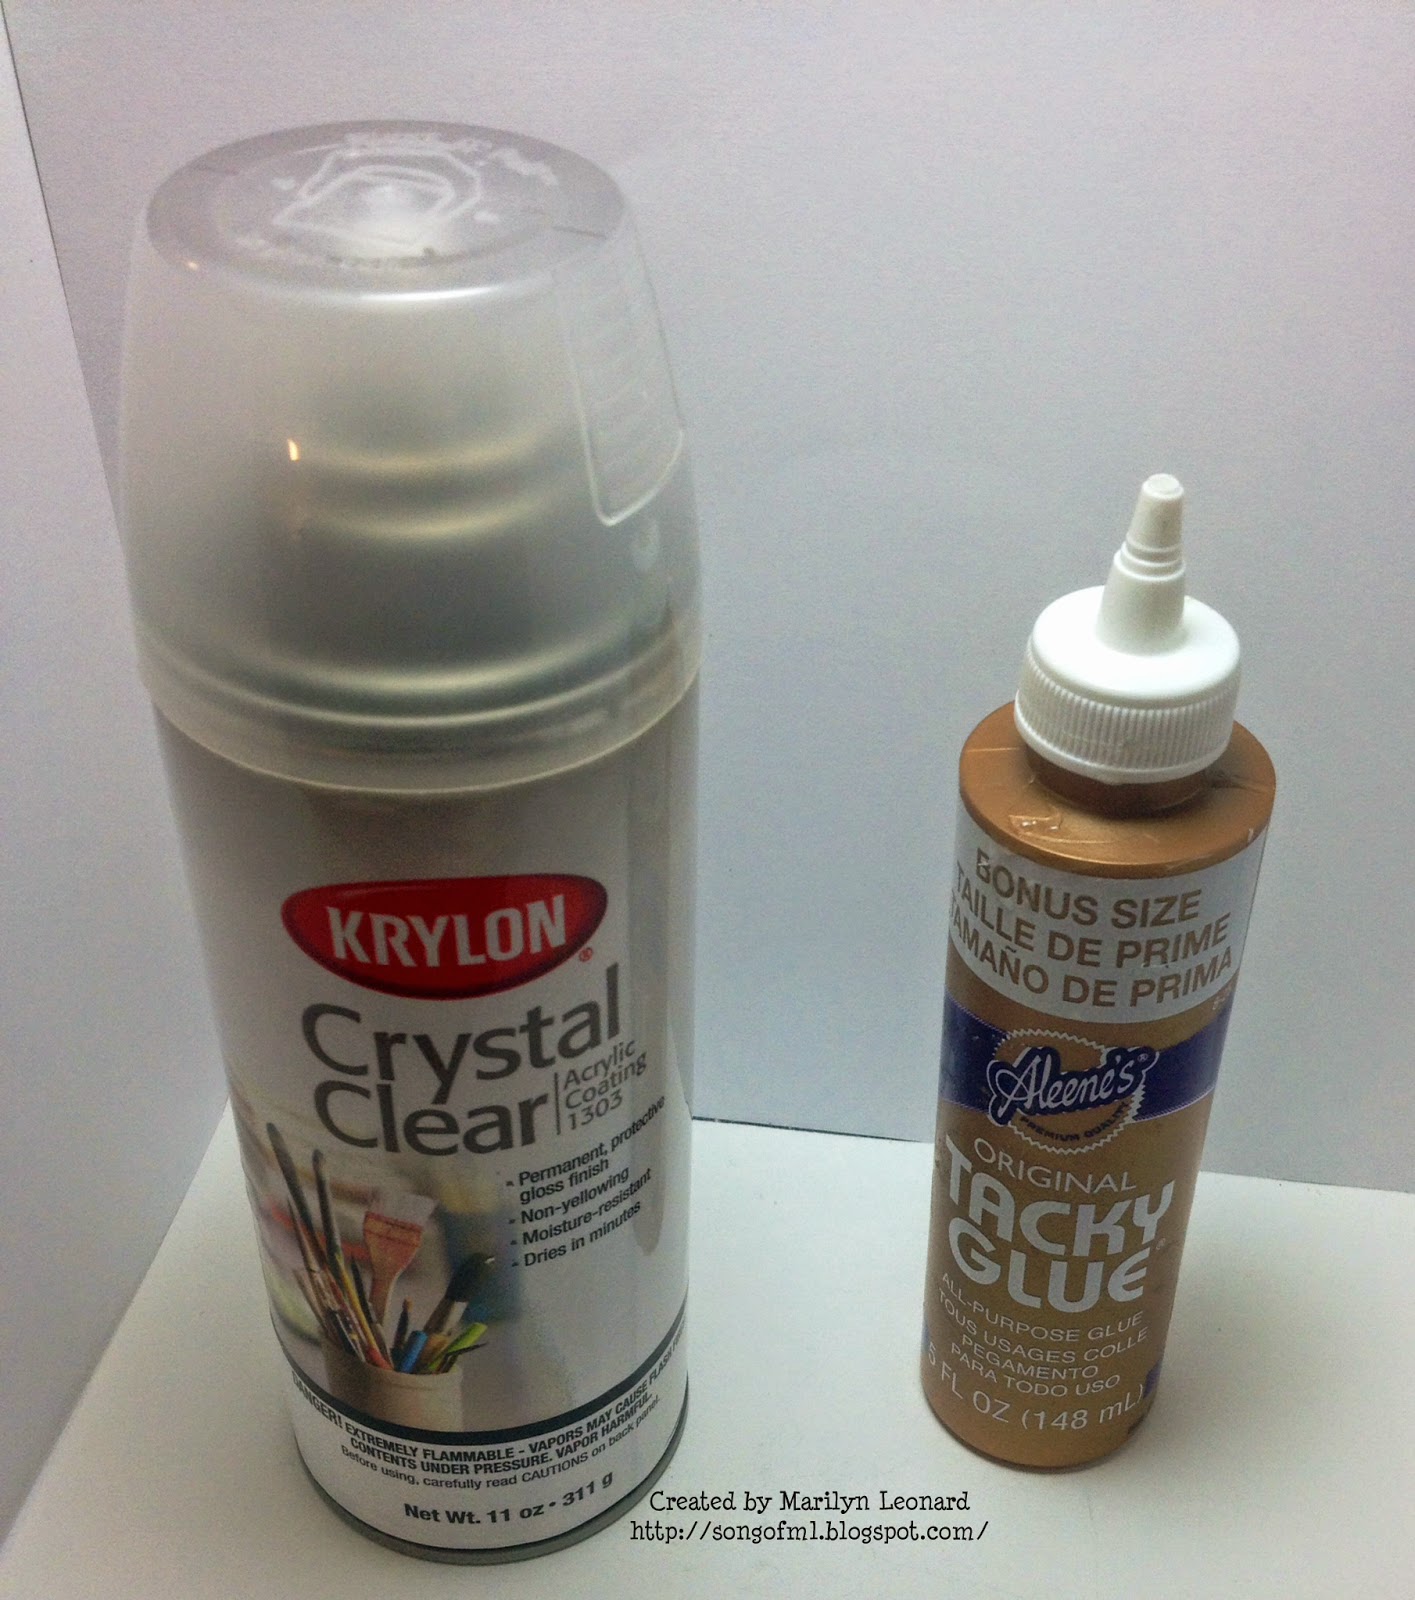 |
| Use fabric glue when you are ready to make image placement permanent Use Krylon Crystal Clear to give a nice protection to your shoes |
- Fabric Glue (available at craft stores and Walmart)
- Krylon Crystal Clear (found at Hobby Lobby and Michaels)
Select images from Miss Kate's Cuttables. Color and size to your preference. Set all images to cut outside edge only, making everything a print and cut. Add your registration marks and send to printer (loaded with Square 1 Printable first)
Load Silhouette Cameo with your printed Square 1 and cut.
Cut settings are here:
Determine where you want to place your images. Since the Square 1 is re-positionable, you can move around until you're happy with the placement. The Square 1 will behave like a sticker.
The waves will be longer than you need. I just used my thumbnail and made a crease, then hand cut at groove created.
 |
| White lines were created within Silhouette using internal offset button and line type of dashed lines. |
Once you're happy with the placement, permanently attach images with fabric glue. You'll want to spray with Krylon Crystal Clear when done to give a nice protection to your shoes.
Hope you have a blessed day and thanks for stopping by, ~ Marilyn
Great tutorial and love the shoes. My littlest granddaughter will love them. TFS
ReplyDeleteWOW! What we can come up with now a days. Fabulous tutorial!
ReplyDelete