

Welcome to Scrapbook Blessings Club today all my scrappy and crafty friends. Barbara here with a product review on a new kind of mist called Irresistables. It does not react with other water based mediums once it is completely dry. I made an art journal page today. I used a lot of different mediums.
MY TIP- Check back through some of the older product reviews on SBC blog to get more information on some of the media I used today.
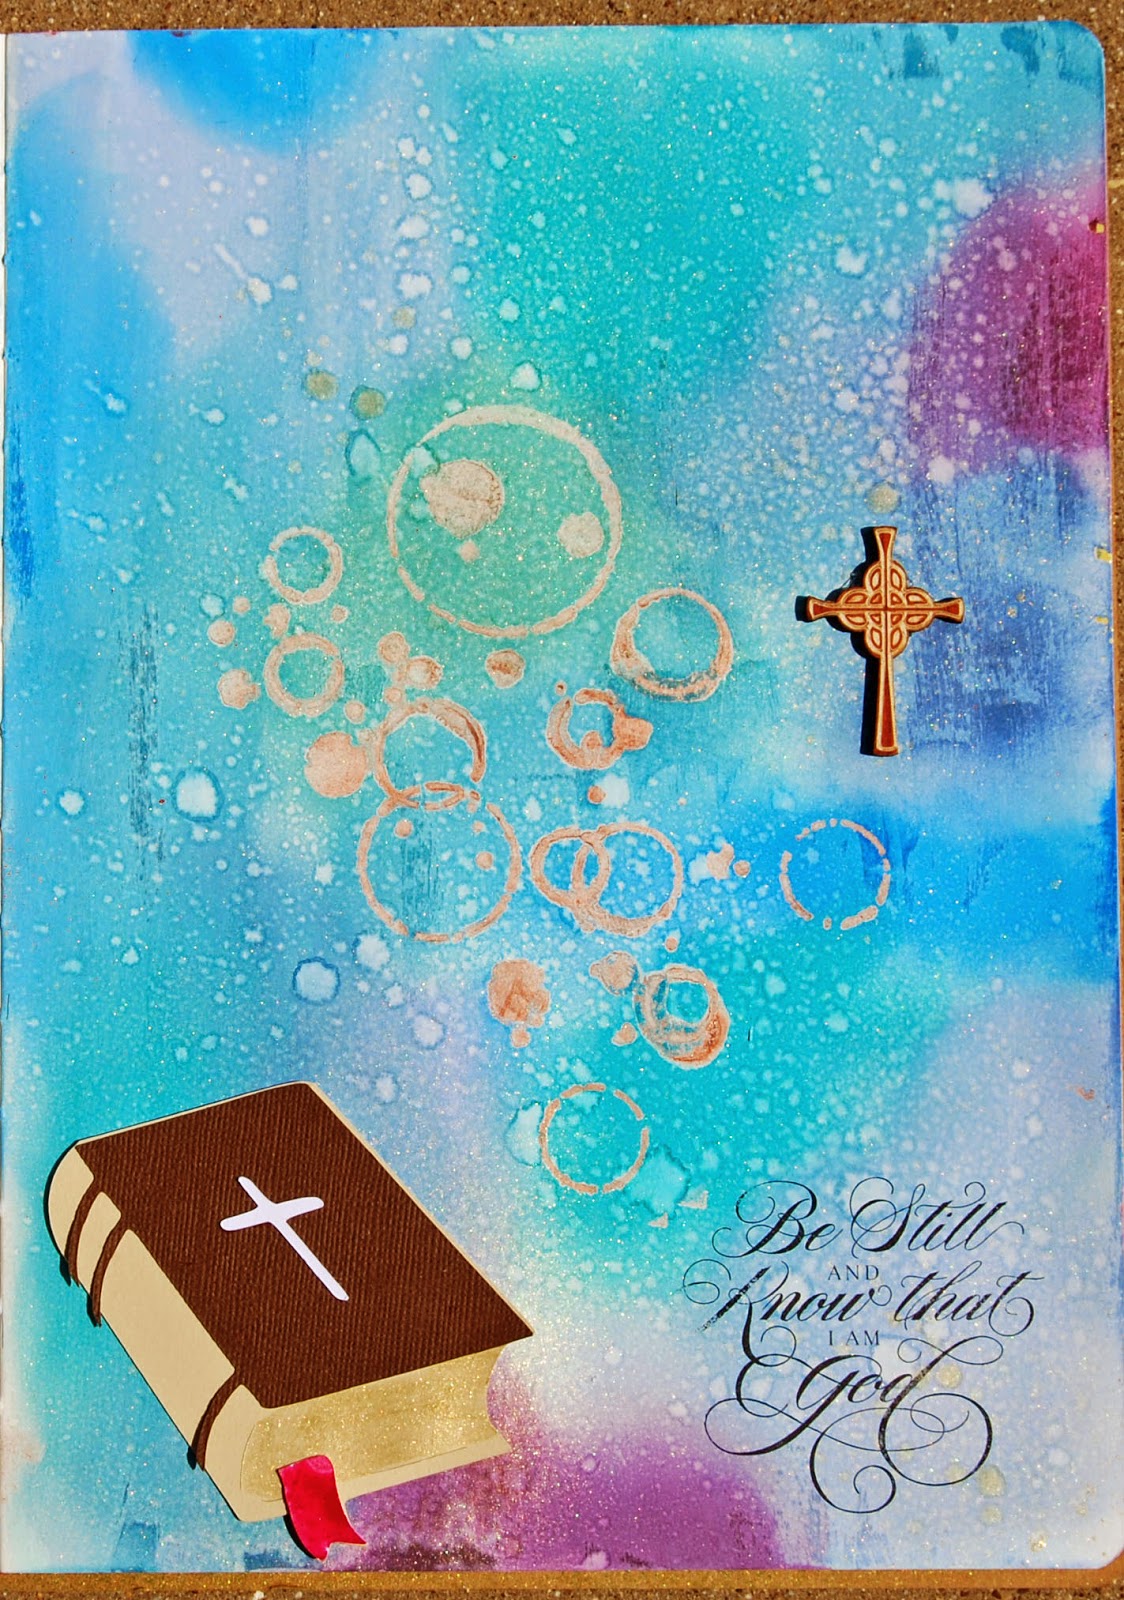
Here is my finished project:
 The left one is a mix mash of textures, mists and gelatos. The right one is gold Irresistables sprayed with stencils and colored with several different pink shades of gelatos.


MY TIP- Check back through some of the older product reviews on SBC blog to get more information on some of the media I used today.
Here is my finished project:
Recipe
Dylusions Art Journal
gesso
Tim Holtz distress inks
Heidi Swapp gold mist
Irresistables copper mist
sponge applicator
circles and puddles stencil
Tim Holtz mini ink applicators
CTMH stamp
Bible cut from Cricut cartridge called New Testament
Wooden cross embellishments
First I painted the art journal page with gesso to keep the mediums I used from soaking through to the next page. Let dry overnight.
I sprayed some Irresistables on a paper plate and used a sponge to apply it over the circles and puddles stencil. Remove the stencil and let dry completely. You can use your heat tool but do not apply heat too long in one place or the Irresistables will bubble up. Of course you may want that to happen to give you more texture.
Apply distress inks with the round ink applicators in a circular motion blending as you go. It only takes a few minutes for these to dry.
Spray over the entire page with Heidi Swapp gold mist. This will add shimmer as well as respond with the distress inks to give that spotty look that I love.
If you want more of the spotty look spray with water and let dry.
While it is drying cut your image with your cricut or other die cutting machine. Put it's layers together.
Use a sentiment stamp and staz-on or other archival ink to stamp your sentiment in the bottom right corner.
Add your die cut to the bottom left corner.
Add your wooden embellishment up the page some to give a visual triangle to your page.
And you are done.
That sure was fun wasn't it. I hope you will try more mixed media in your art journal and on your layouts and cards.
Here are some other background pages I have going in progress.
This one is sprayed with copper irresistables and sprayed with dylusions mists and the Heidi Swapp gold mist.
As always comments and questions are appreciated. We will attempt to answer your questions as soon as possible.
Thanks for checking out my post today.
Have a scrapbook blessings kind of day.
BARBARA
Hope you have a blessed day and thanks for stopping by,
Fabulous art jrnl pg Barbara :-)
ReplyDeleteThank you Cindy,.
ReplyDelete