

Hey kids! Cindy back on the SBC blog today. I have a fun confetti card to share with you today. So grab those sequins you've got in your stash and let's make a card :-)
TiP: For the acrylic sheet in this project you could use packaging from a cartridge or an embossing folder, etc.
Supplies:
Acrylic sheet (I used a 12x12 sheet from Oriental Trading Co)
Elegant Edges Cricut cart
sequins
Glossy Accents
 Elegant Edges Cricut cart - Circle2 @ 3 3/4" using the oblong frame feature. Cut the acrylic sheet using med speed, max pressure and multi cut @ 2.
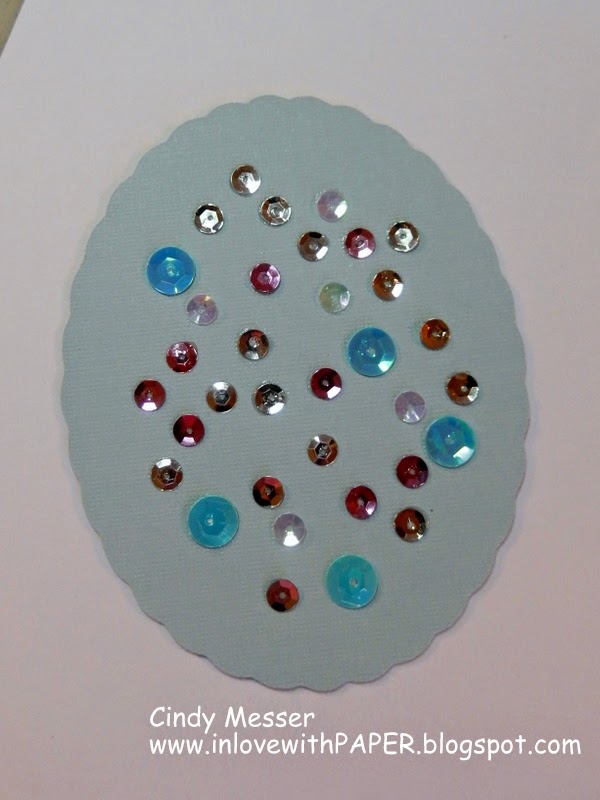 Arrange your sequins and adhere with Glossy Accents.
 Adhere the acrylic sheet to the oval frame and then to the shadow piece. I just applied adhesive to the oval frame to keep the acrylic sheet clear.
And here is my finished card.
 Add'l supplies:
The Paper Studio - Daydream Doodle stack - patterned paper
glitter paper
Cuttlebug embossing folder - swiss dot
Bugaboo Digi image - girlz celebrate
watercolor pencils
pop dots
grey ribbon
silver gems
Thanks for stopping by today. I hope I've inspired you to get out your sequins and make something fun :-) Join us on facebook, too!
Cindy---In Love with PAPER

TiP: For the acrylic sheet in this project you could use packaging from a cartridge or an embossing folder, etc.
Supplies:
Acrylic sheet (I used a 12x12 sheet from Oriental Trading Co)
Elegant Edges Cricut cart
sequins
Glossy Accents
And here is my finished card.
The Paper Studio - Daydream Doodle stack - patterned paper
glitter paper
Cuttlebug embossing folder - swiss dot
Bugaboo Digi image - girlz celebrate
watercolor pencils
pop dots
grey ribbon
silver gems
Thanks for stopping by today. I hope I've inspired you to get out your sequins and make something fun :-) Join us on facebook, too!
Cindy---In Love with PAPER
This is so pretty! Lots of great ideas on this blog! Thank you!
ReplyDeletesuper cute!
ReplyDeleteCuteness, I love this!
ReplyDelete