
The prize for this challenge comes from:

One lucky winner will receive a 4 digital stamps of their choice.....Good Luck!
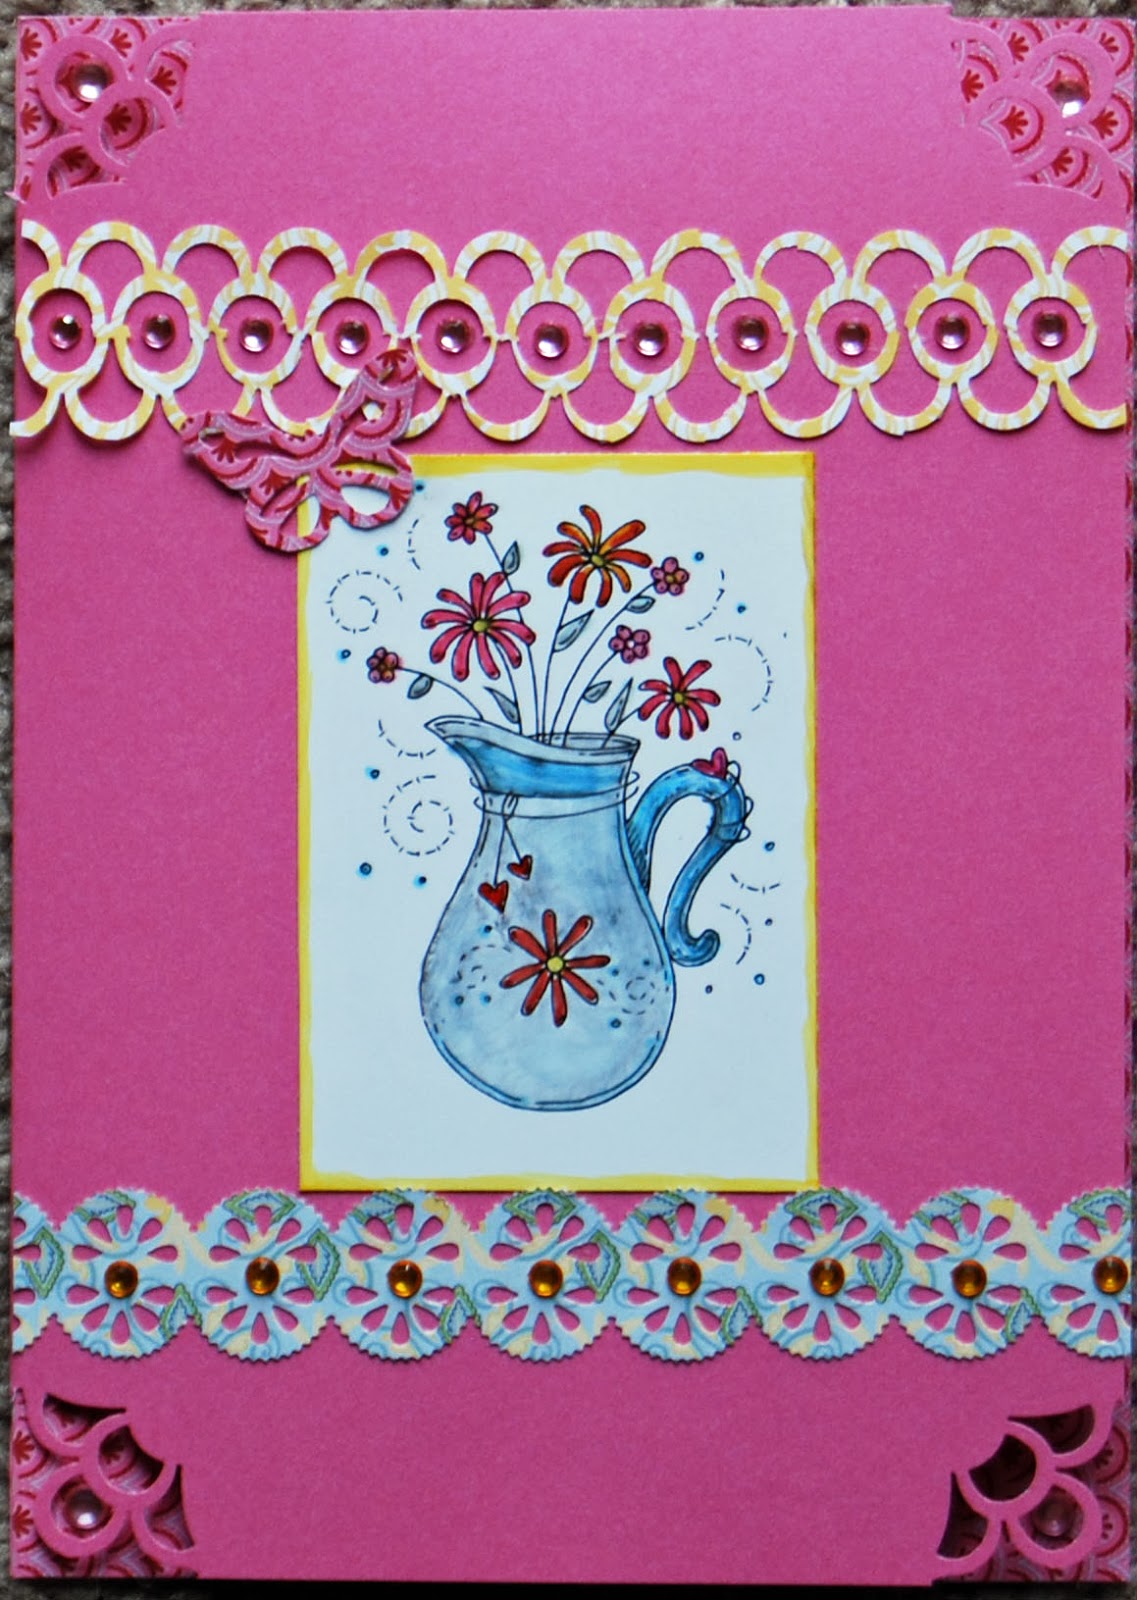

Melissa- Paper Shenaniganz


Meljen's Designs is a lovely stamp company owned and illustrated by Melissa Jenkins. She illustrates whimsical rubber and digital images inspired by her kids and family. Meljen's Designs has a new challenge every Thursday, and a Guest Designer each month at the Meljen's Designs Blog. Please visit the adorable line of Meljen's Designs stamps at our store HERE to browse all of Melissa's lovely designs! You can also see Melissa's exclusive rubber stamps at her corner of Whimsy Stamps, too! Don't forget to join Meljen's Designs on Facebook HERE to take advantage of special sales and promotions that are just for her facebook fans!
----------------------------------------------------------------------------------------------------------Are you ready for our next fun challenge? The DT is sharing with you some of their favorite ways to use punches. Here is a great tutorial to show you and awesome techniques.
Here are the inspiration pieces created by SBC DT using their own favorite punched for these awesome card. To find more information on how they did that, please click on their name/blog. Thanks
Barbara- Sketches 4 Scrappin
Barbara- Sketches 4 Scrappin
My Tip: In order to make the lace-like look with a punch, first measure the picture of the punch pattern on the punch itself. Double the measurement plus 0.25 inches. Then cut your strip of paper to this size. Punch both sides of your strip of paper, being careful to line up the patterns on both sides.
My Tip: When punching a frame like I had done, punch it again and trim around to create the oval mattings; and thankfully for me the oval mat that the image is printed on was punched out using my oval dies.
My Tip: If your punches aren't working like they used to, try folding a piece of wax paper a few times and punching it. It will work in a similar way WD-40 would on a crickety door. Also, if you think they need to be sharpened, repeat the same process with aluminum foil. Just be careful you're not punching too many layers, and if it doesn't punch through easily, don't force it. Hope that helps someone!
My Tip: If you find that getting that little lever down all the way is difficult or feels like it is fighting back...STAND UP...and show that punch who's the boss! (It really does help something about better leverage gives you more power...you get the idea.)
My Tip: When using "Punch Around The Page" punch sets be careful with your card dimensions. These punches work best with specific measurements which are included with the punch set.
Sandy- A Working Mom's Joy

My Tip: Border punches make cute little label tags. Just punch the ends!
(see above on my "Enjoy your day" sentiment)
Marilyn - Marilyn's Crafts
Cindy--In Love with PAPER
 TiP: Pick out your papers for your card before coloring your digi so you can make everything coordinate.
Teresa-Fresh and Renewed

Jennyfer - Jennyfer Creates
 Tip: Use your corner punches too!
Zenita - Scrappinwith'Z
 My tip: You can use chalk or the tip of a Copic marker around the edges of your punch to make them pop out on your card!!

We hope these design team projects inspire.
My Tip: Border punches make cute little label tags. Just punch the ends!
(see above on my "Enjoy your day" sentiment)
Marilyn - Marilyn's Crafts
 |
| My tip: Take photos of your cards in natural light if possible. |
Cindy--In Love with PAPER
Teresa-Fresh and Renewed
Tip: Your focus feature does not have to be on the front of your card.
Check out my blog to see the front. ;)
Jennyfer - Jennyfer Creates
Zenita - Scrappinwith'Z

Cristina - VintagePink39
Tip: always save those strips of paper we cut and throw away, they come in handy to use with our punches.
We hope these design team projects inspire.
Your challenge:
Create a card or project with a punch of any kind ie: border/corner/circle/scallop
This challenge ends on Saturday, March 15th at 9:00 pm EST. Also, you can join up to our Facebook group: Scrapbook Blessings Club for more fun, games, inspiration, tips and techniques.
If you do make a project using the featured technique,
your project and blog may be showcased on the SBC Facebook group.
And as always, comments are appreciated. Thank you for stopping by and Have a blessed day!
SBC Design Team
Beautiful cards and great tips. Great job DT:)
ReplyDelete