

Hello Friends !
Annette here for the Scrapbook Blessings Club to share with you Friday's project ~ "Cards" and I am using a technique for 3D on my card today and would like to share my ideas with you.
Tip of the Day: Never have any white showing on your 3D Images ~ colour with Copic Pens on edges.
Now onto my tutorial.
One of my huge favorites with making my cards is using 3D Images. They just look absolutely sensational on any creation.
Although very time consuming colouring 3 to 4 of the same image of Digital Stamps and then having to cut them out, I find buying the pre-colored 3D sheets a much better idea and huge time saver.
First up you need a very fine sharp pointed pair of scissors

- Once you have printed off your 3D pre-coloured sheet cut out all of the Images which are printed on the sheets in the actual layering order.
- To get into the enclosed areas where in this instance are boots, I cut through the join of the boot and then cut out the white section (see photo 1) ~ I find by using very fine pointed scissors rather than using a Blade I get a much more precise cut
- With the white sections next to the body and hair, I cut along the edge of the bow and then around the hair to cut out the white section and I do this on both sides of the body as seen here in (see photo 2)
- The 3rd photo is how it looks once I have cut out the entire Digi, you will see no white sections
- I repeat this with all of the other 3D Image Layers
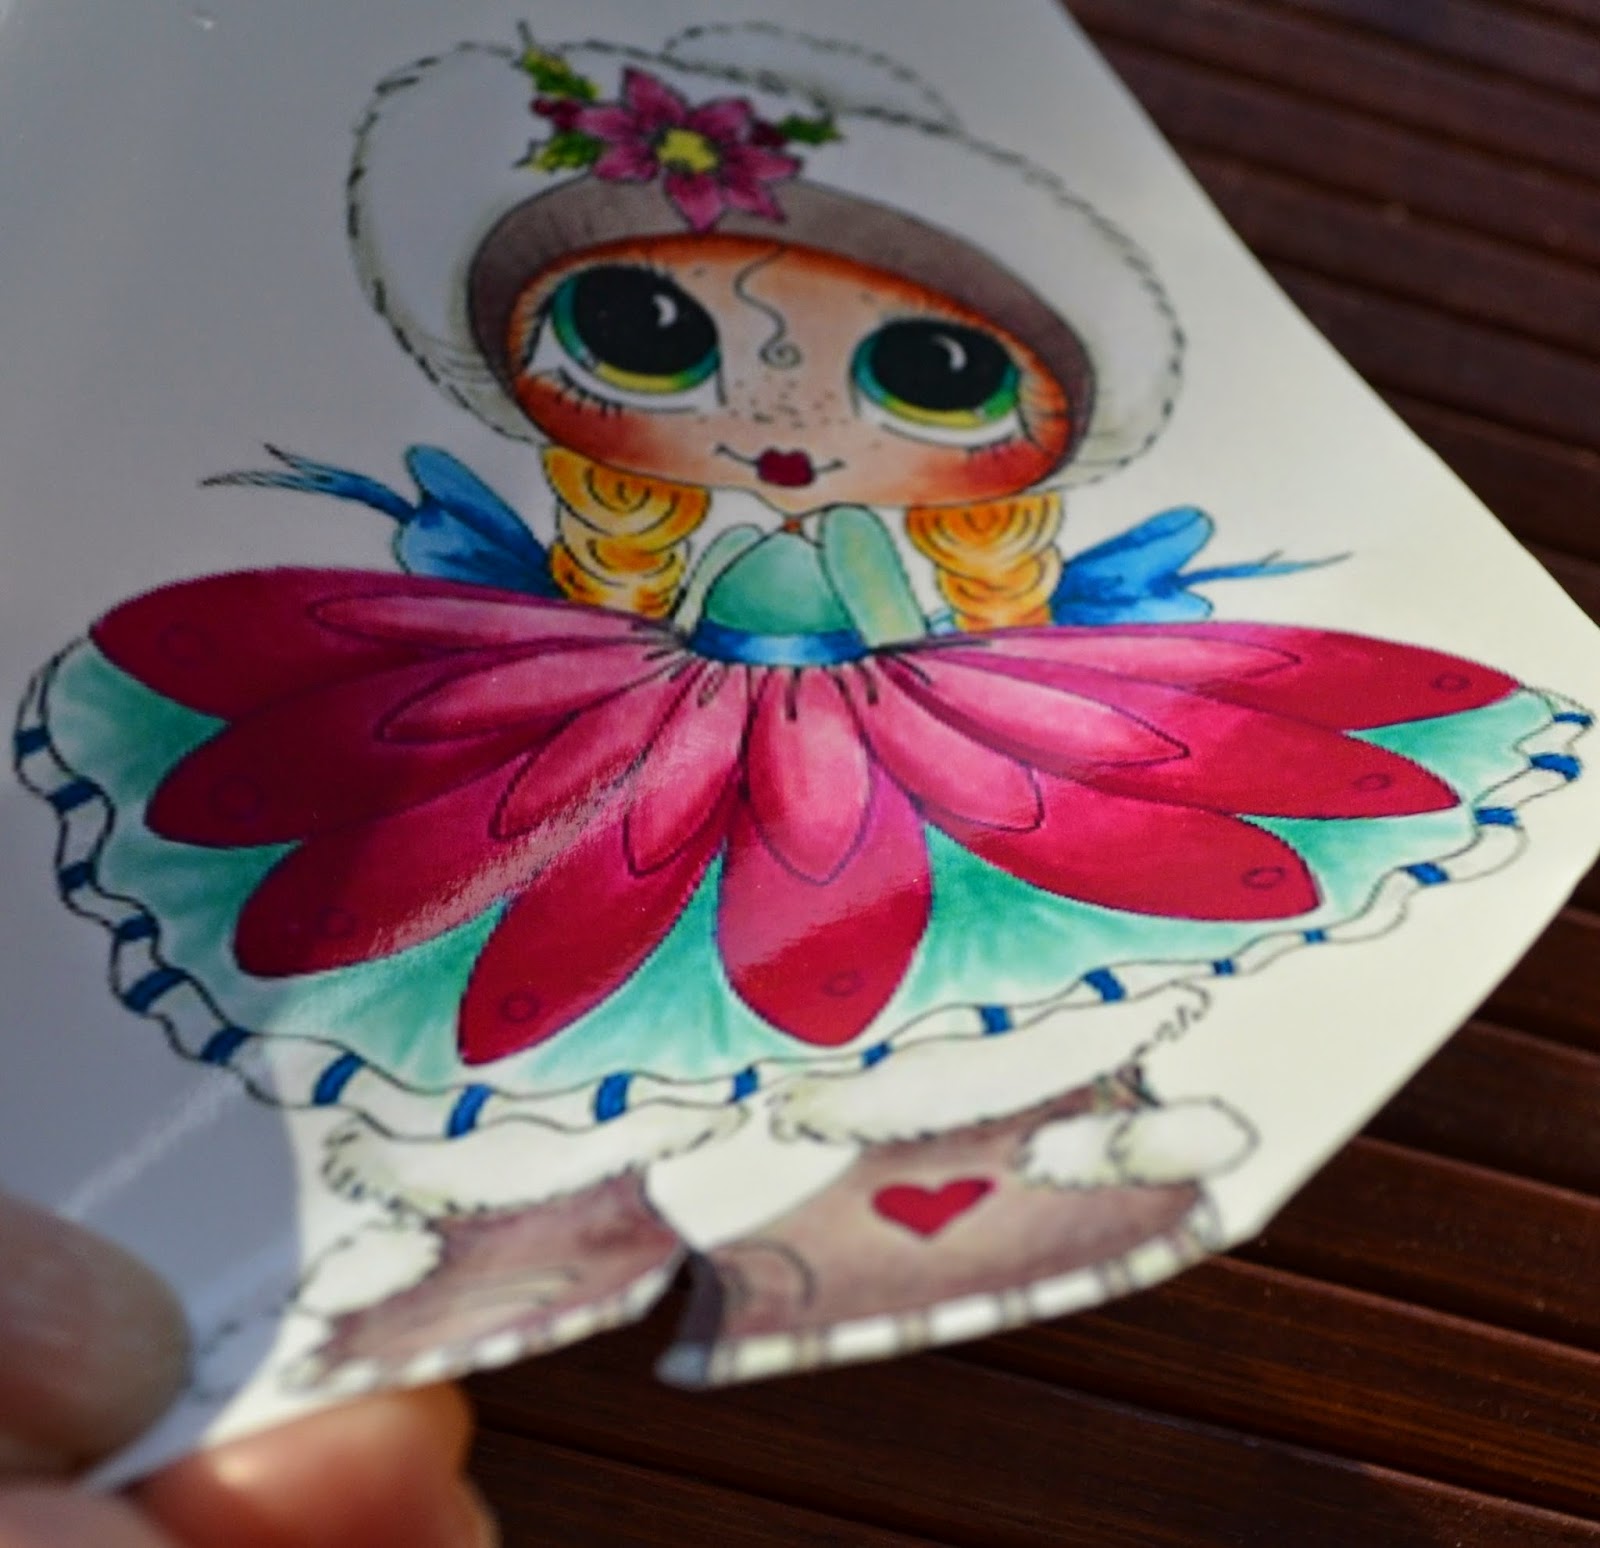


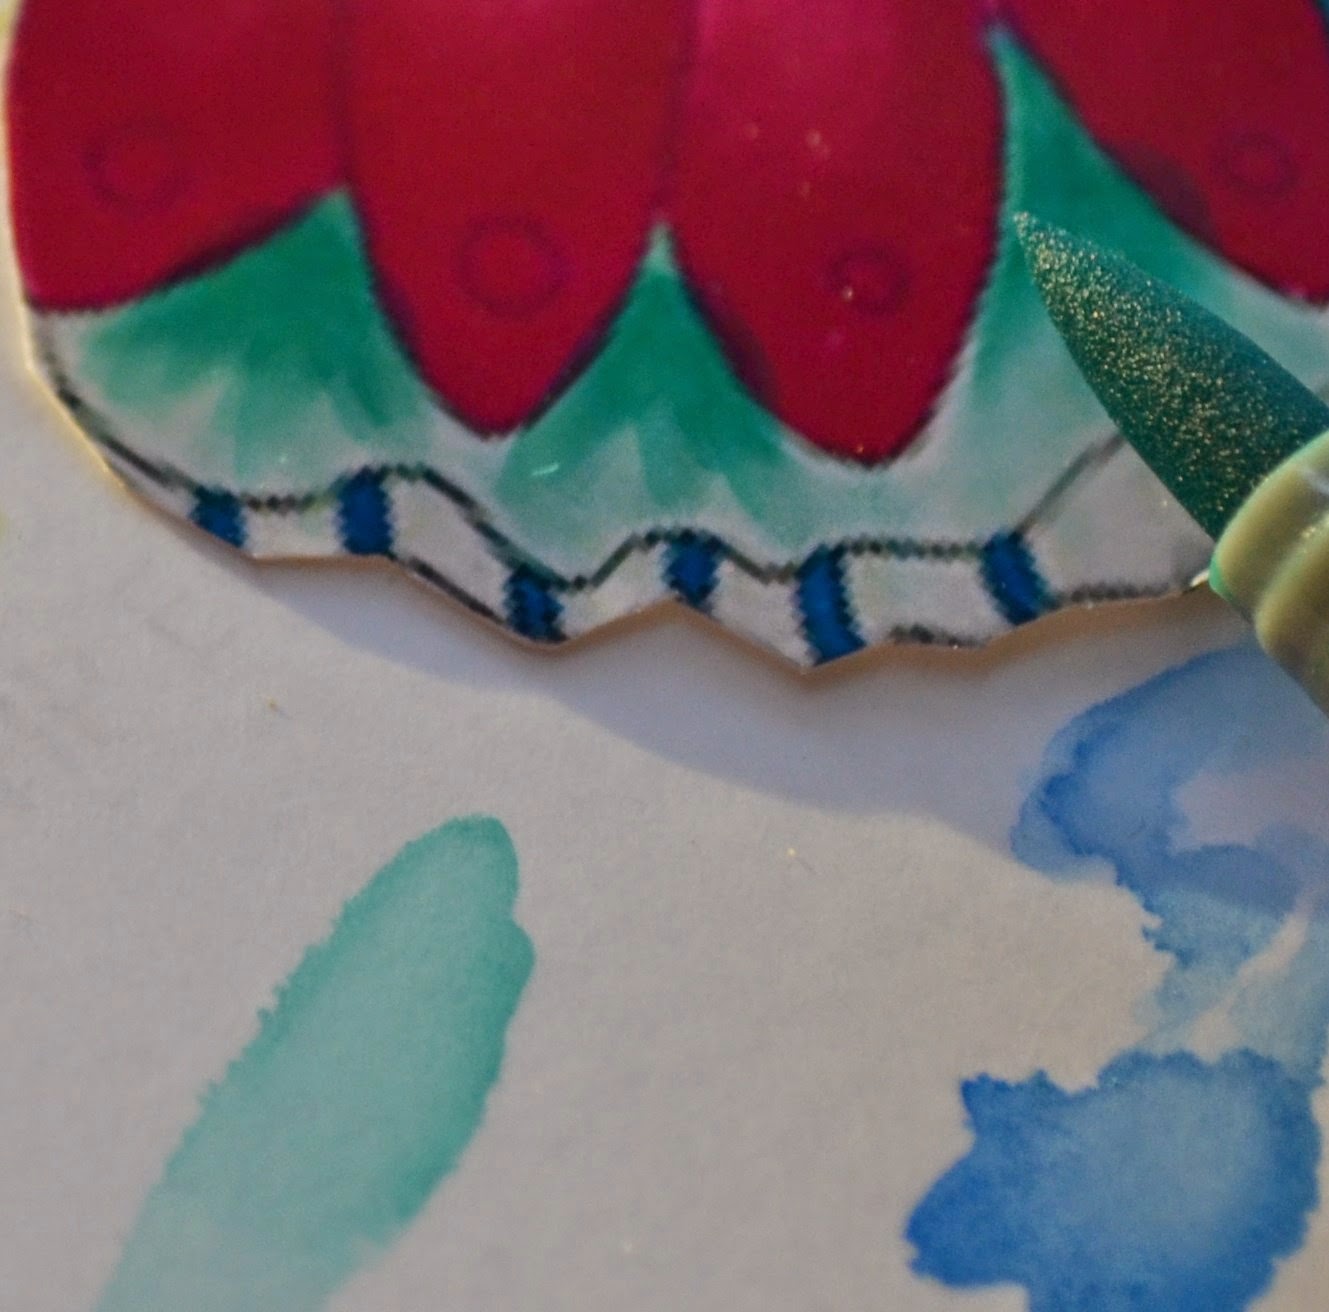
- Being exceptionally fussy and a perfectionist, I do not like to see any white showing around the outside of my cut out image, although very hard to avoid I counteract this with my Copic Pens to color in the edges matching the actual colour on that part of the image, ie: Bright Pink Dress I use a Bright Pink Copic on the outer edging etc
- Nothing annoys me more than seeing a layered 3D image with White cut edges showing


- Once I have gone around the entire edges of my 3D Images I then often re-color any faint or pale parts of the clothing, face and hair etc. with my Copics

- When I have completed my Copic touch ups I turn over each Digi and stick down the parts where I have cut through sections with the scissors to cut out the white sections I tape these areas down so that these cut areas are not visible on the right side of the Digi ~ I repeat this with all of the 3D Digi Layers

- My 3D's are now all ready for mounting before the next procedure ~ applying a nice thick double sided foam, I mount each section on top of one another very carefully

- Once my 3D Digi is all mounted it is now ready to complete the last procedure
- Since this is a Xmas Digi I often use my True Snow and loads of Glitter Glue
- It is imperative that the True Snow is completely dried prior to applying the Glitter over the top.
- I am going to apply the True Snow to the hat, boots and pom poms
- I always use a Pearl Glitter Glue over the top of the True Snow for a bling effect
- Using two sized paint brushes both for the True Snow as well as the Glitter Glue (Fine and Medium) I apply the Glitter Glue over the True Snow
- I then apply matching colored Glitter Glues to the clothing, flowers, headband and boots etc (Note: The headband and boots I am using Silver Glitter Glue)
- I find it very helpful once I have applied my True Snow and Glitter Glues to use a hot hairdryer to dry these areas with so that I am not waiting for hours on end for drying ~ this way I can complete my project much quicker


- Here is my finished project ~ my 3D mounted to my Card


I hope you have enjoyed my 3D Tutorial today.
As always, any comments are very much appreciated.
Thank you for stopping by and have a wonderful day.

Annette ~ http://annetteshobbyrosettes.blogspot.com.au/

Hope you have a blessed day and thanks for stopping by.
Annette, this is a fantastic tutorial and so pretty and interesting!
ReplyDeleteWow, what a wonderful tutorial. You're a real master of your art!
ReplyDeleteThank you so much Bonnie and Marilyn.
ReplyDeleteI am so pleased you enjoyed this tutorial.
Cheers
Annette