

Hello our Crafty Friends, Lots is happening and going on this month over at
We debuted ALTENEW last weekend! Didn't you just love all the creations?
I sure am one blessed woman to have such a talented design team.
I absolutely loved everyone's projects. There are lots of Altenew items you
can purchase...ranging from some holiday (Christmas) sets to florals to line
images! Head on over and check them out!
Not only are we showcasing Altenew...we are also showcasing
Gina Marie Designs dies...love, love her dies! So all month you will be seeing
these types of items. I also challenged my Design Team to try and use
Christmas pattern papers in a non-holiday way so they will be sharing those
along with their projects as well. So, today we thought we would have another
hop and share some projects with you...don't forget to leave a comment on
each blog. Each DT member will have a Gina Marie die to give away and then
enter the Rafflecopter on the SFL blog because there will be a larger prize for
one of you. Thanks so much for joining us today!
__________________________________________________________________________________
Welcome! So for my project, I decided to try my hand at the Twist and Pop Card.
It was fun to do but took a little while. I did follow a video from SBC DT Member Katie
Skiff. She was one I could actually follow. Here is her video link:
https://youtu.be/SQMwjTIBIW4


I also used Distress inks and the Sunburst die as
a stencil for the yellow and red color. Love how
it came out!
These are the dies that I used for this card.
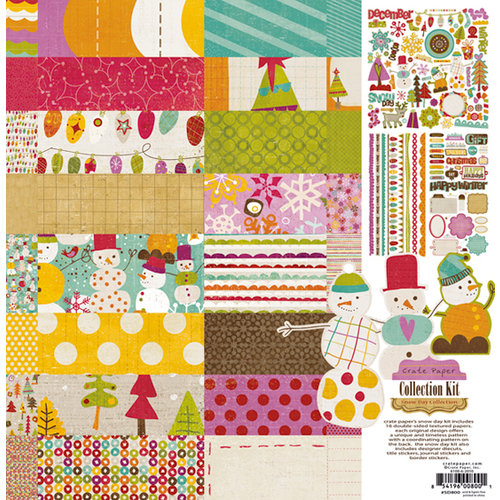
Our challenge for this hop was to use Christmas paper.
I used an older set that I had from Crate and Paper
that I purchased at Scrapping for Less. It is called Snow Days.
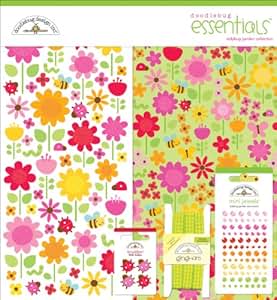
And the stickers are from Doodlebug Designs, Ladybug Garden.
Both are older sets but I am determined to use my stash!!!!

One person that comments on this post will win this Gina
Marie- Pine Needles Die. Good Luck!
Up next is Teresa, just click on her link in the line up.
Here is the line-up for you:
Yvonne: Adventure of the Creative Mind
Sandy: Scrapbook Blessings Club
Teresa: Fresh and Renewed NEXT!!!!!
Kimberly: Sunshine, Smiles, and Cards
Stacy: Craft-A-holic Momma
Beautiful Gina Marie Die. Thanks for the chance to win.
ReplyDeleteBeautiful card! Love the colors and design!
ReplyDeleteLove how you combined the different dies on your card!!
ReplyDeleteLove that sunray die , beautiful work :)
ReplyDeleteYour cards are so cool! Love the colors you used.
ReplyDeleteGreat card, I've wanted to try this card fold.
ReplyDeleteBeautiful card! I love that sunburst die!
ReplyDeleteLove the colors.
ReplyDeleteGreat card. I'm going to try this card! Love Gina Marie. Thanks for the chance to win!
ReplyDeleteWhat a fantastic card. Thanks for the inspiration.
ReplyDeleteLove the format of your awesome card! Great dies to use with the set of squares and circles with the stitched detail, and the sunburst die!
ReplyDeleteI like using papers for a theme other than their original intent. Very cute!
ReplyDeletehiwendyhi at yahoo dot com
Love the colors you used.
ReplyDeleteLove how you used the dies.
ReplyDeleteThese are great!
ReplyDelete