
Hi friends! As we are getting ready behind the scenes for our official Oct 5th Launch Party, I thought I would share with you a "Blast from Past" tutorial today.
Also, we have a couple sponsor slots open for 2014, if you would like to partner with us, please email me at Cleosan52@yahoo.com and please check out the DT Call going on right now and our current challenge: Circle Easel Cards. Both end on Sept 30th. Whew, a lot going on now at SBC!!!
Here is what I did along with a little tutorial with one of my favorite craft tool... Glossy Accents.
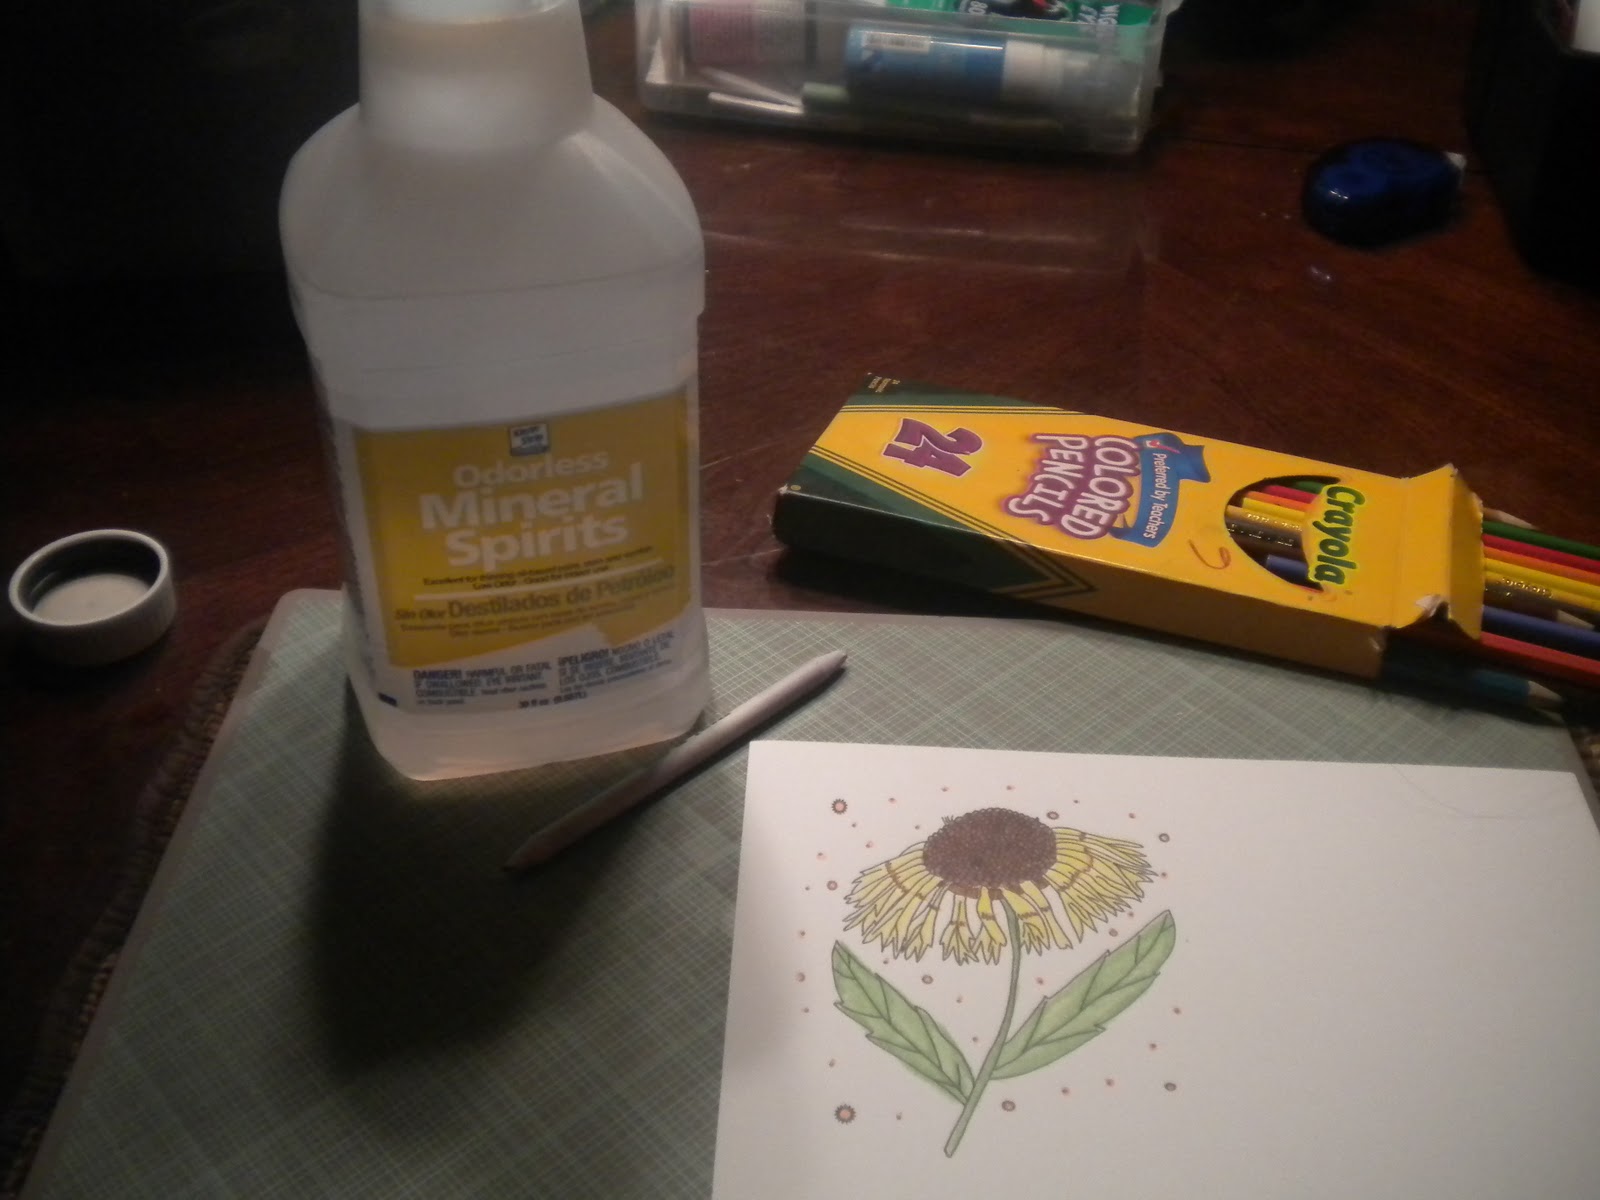
I was able to achieve a wonderful tile look with my digi stamp. First, I colored my image with simple colored pencils and then using mineral spirits ( I got this huge bottle at Walmarts for $5 in the paint section) and a paper nub, blend away.
 I blended my colors to get a rich wonderful look. The best part is I didn't spend a fortune to get the look I want. I then did the unthinkable... I cut my image into little blocks...gasp!!!
 But no fear, I adhered my little "tiles" to the front of my card. Then the fun begins!!! Using Glossy Accents, I covered each tile.
 Here is the difference with and without the Glossy Accents...
 It goes on a little cloudy but dries clear. (hint, don'e shake your bottle or you'll get bubbles) After it dried, I finished the rest of my easel card.
 Here you can see the final card a little bit better...
 It looks like tiles when your done or even like your looking through a window! Looking at the pic here, I think I'm gonna add a little something to the base, lol. A scrapper is never done, lol!!!!

Hope you have a blessed day and thanks for stopping by
Also, we have a couple sponsor slots open for 2014, if you would like to partner with us, please email me at Cleosan52@yahoo.com and please check out the DT Call going on right now and our current challenge: Circle Easel Cards. Both end on Sept 30th. Whew, a lot going on now at SBC!!!
Here is what I did along with a little tutorial with one of my favorite craft tool... Glossy Accents.
I was able to achieve a wonderful tile look with my digi stamp. First, I colored my image with simple colored pencils and then using mineral spirits ( I got this huge bottle at Walmarts for $5 in the paint section) and a paper nub, blend away.


Hope you have a blessed day and thanks for stopping by
What a wonderful technique! Love the look. Thanks for sharing.
ReplyDeleteThis is cool. I need to try this :-)
ReplyDeleteWhat a fabulous technique. Thank you for sharing.
ReplyDeleteHugs
Linda xxx
I sew love this look and will have to give it a try . . . thanks for the inspiration!!!
ReplyDeleteHugs, Love, and Friendship
Lynne
This is a great look! ~ Marilyn
ReplyDelete